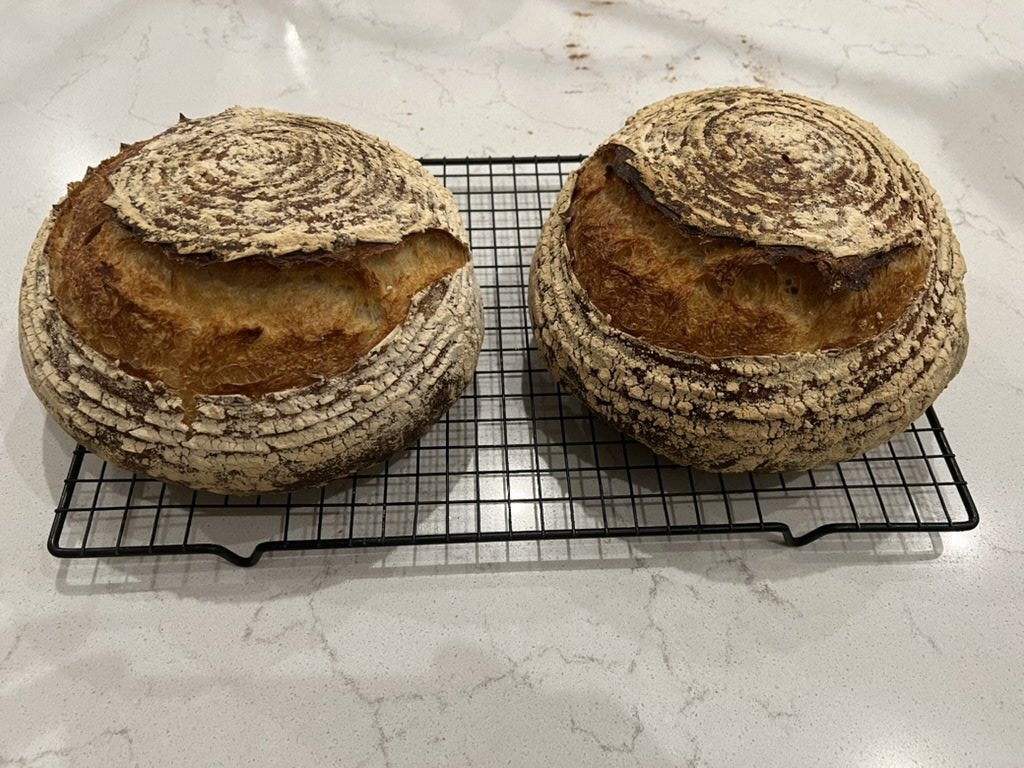
Country Sourdough Loaf
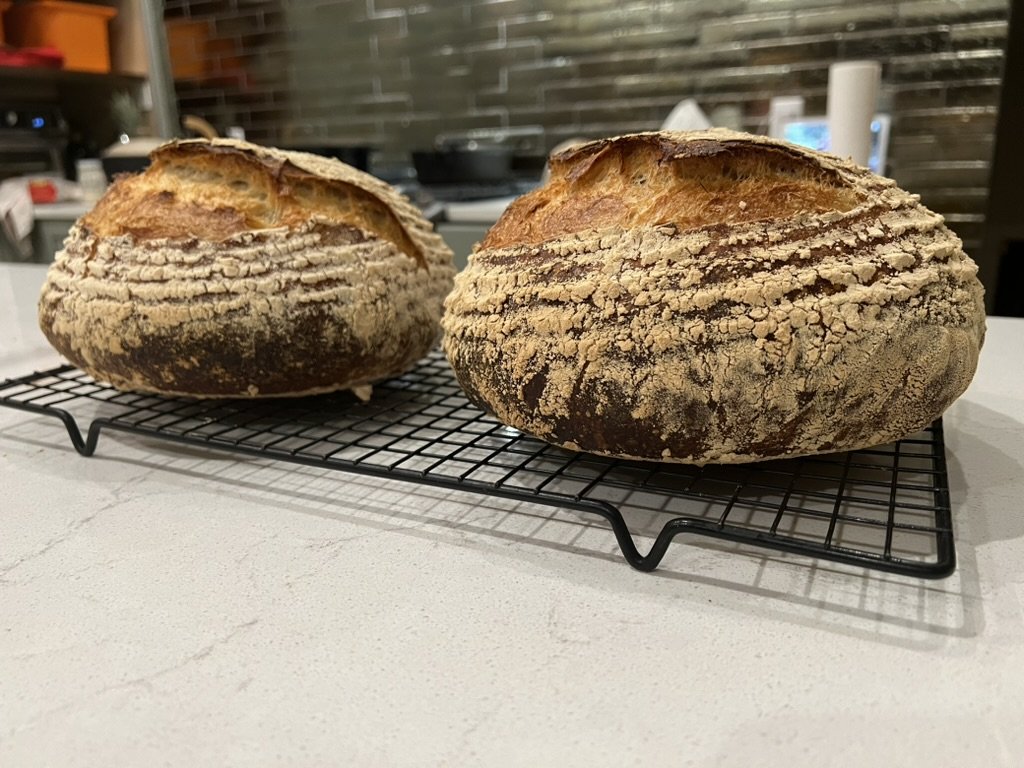
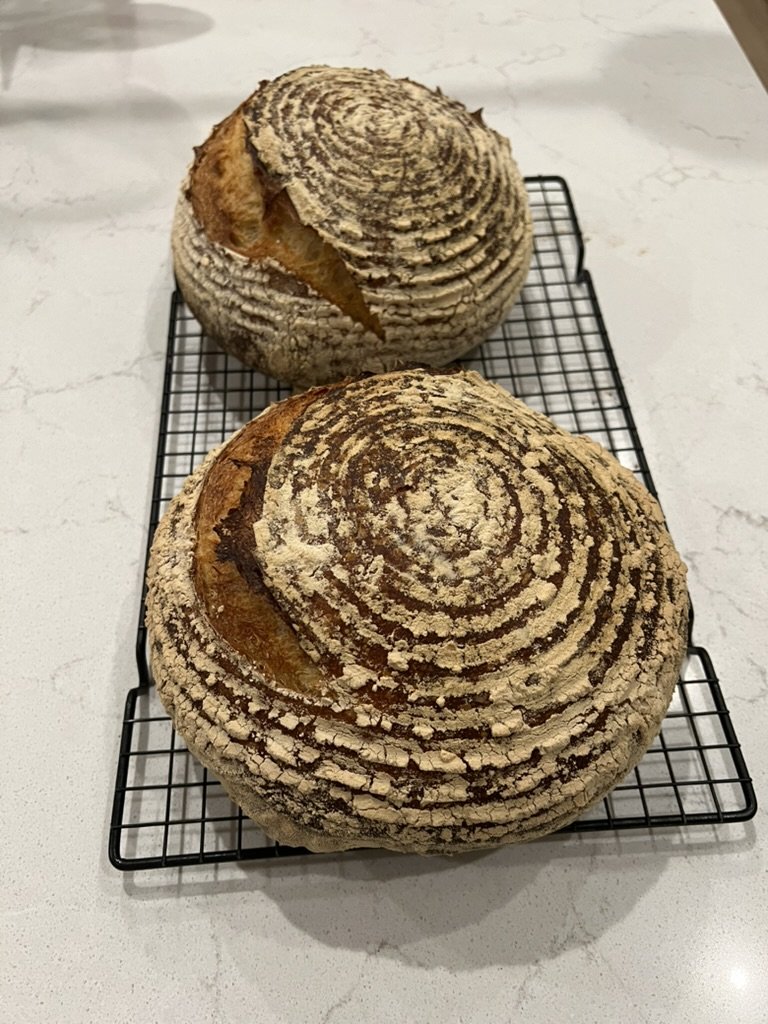
Two crackly, deep-brown country loaves from an overnight leaven, a gentle series of folds and a slow overnight rise in the fridge, baked in a lidded Dutch oven.
About 2 days
Weekend Cook
Serves 12
Rate this recipe
Nutrition per serving
235
Calories
7g
Protein
47g
Carbs
1g
Fat
Ingredients
- 1 tablespoon active sourdough starter (leaven)
- 75g all-purpose or bread flour (leaven)
- 75g water (leaven)
- 525g water, divided into 50g and 475g (dough)
- 1 tablespoon salt (dough)
- 700g all-purpose or bread flour (dough)
- Extra flour for shaping and dusting the baskets
Timeline
- 2–3 days before (if your starter lives in the fridge): take it out and feed it daily until it's lively
- Day 1, evening: mix the leaven and leave it out overnight (about 12 hours)
- Day 2, morning: mix the dough, rest it, add the salt, then fold every 30 minutes for 2½ hours
- Day 2, afternoon: let it rise, divide, shape, and put the loaves in their baskets in the fridge overnight (12–15 hours)
- Day 3, morning: bake straight from the fridge, then cool completely before slicing
Equipment
- 2 proving baskets, colanders or bowls lined with clean tea towels
- 1 or 2 Dutch ovens or heavy lidded pots
- A pastry scraper and a sharp blade or lame for scoring
How to make it
1. Get your starter lively It needs to be strong and bubbly before you start. If it lives in the fridge, take it out 2–3 days ahead and feed it once a day.
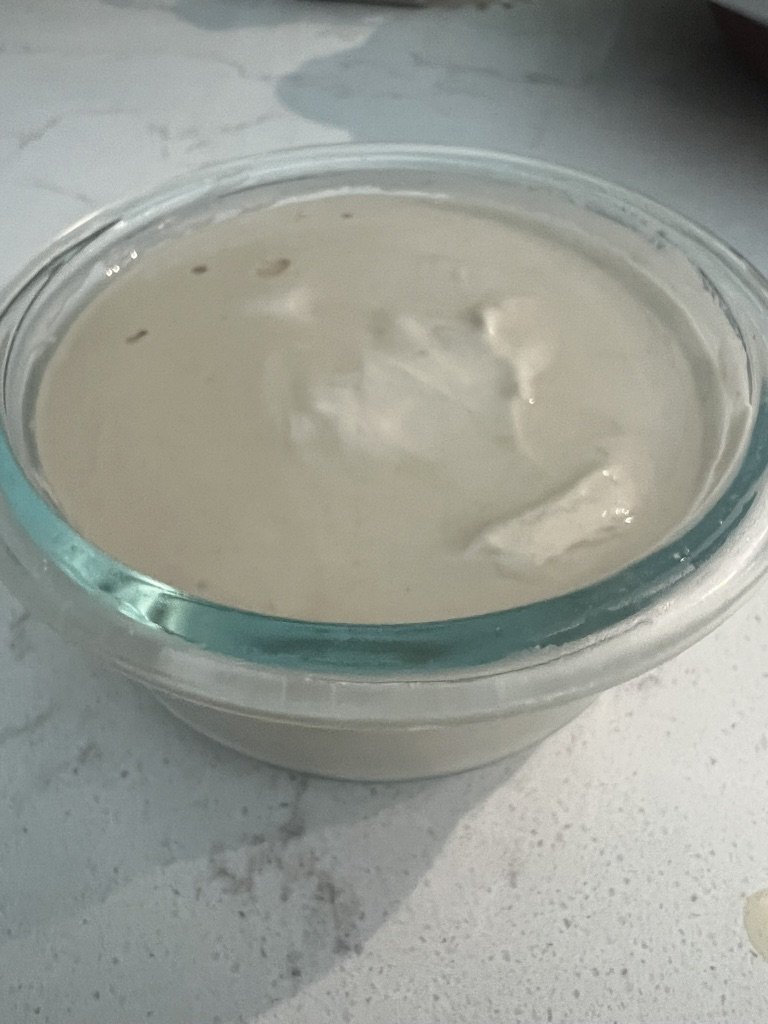
2. Make the leaven (the night before) In a large bowl, stir the starter, 75g flour and 75g water together into a thick batter. Cover and leave at room temperature overnight, about 12 hours.
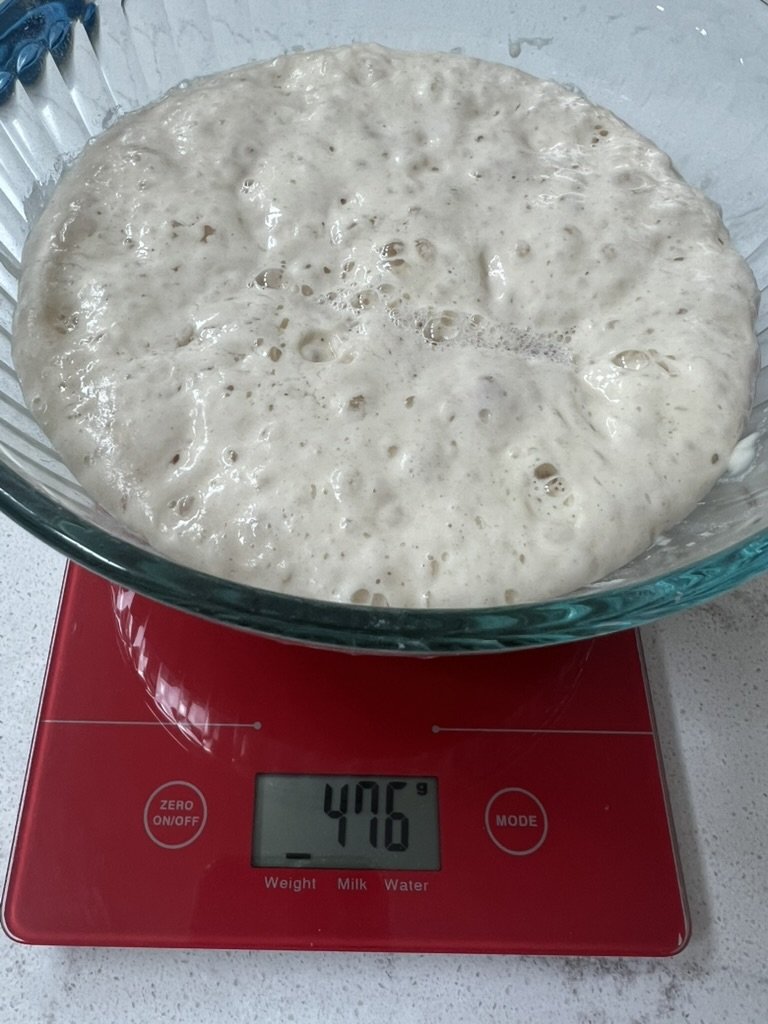
3. Check the leaven is ready A bubbly surface is the main sign. To be sure, drop a small spoonful into a cup of water. If it floats, it's ready.
4. Dissolve the salt Put 50g of the dough water and the salt in a small bowl. Leave it to one side, stirring now and then until the salt has dissolved.
5. Mix the leaven into the water Pour the remaining 475g water into the bowl of leaven. Break it up and dissolve it with a spatula or your hands. A few lumps left behind are fine.
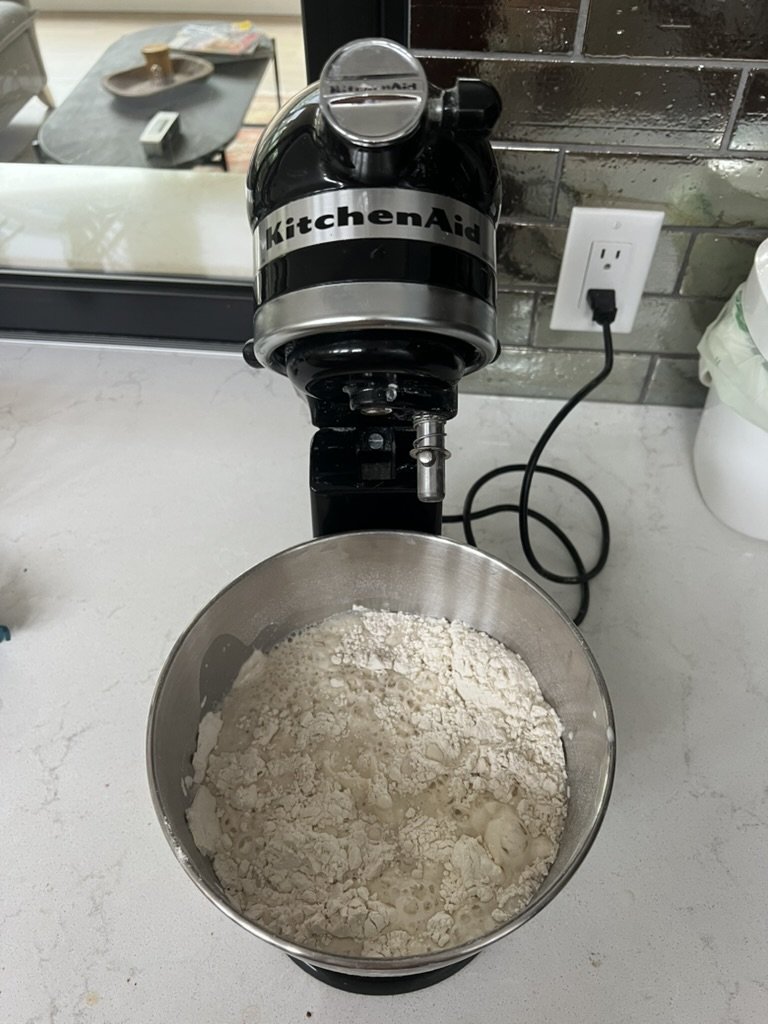
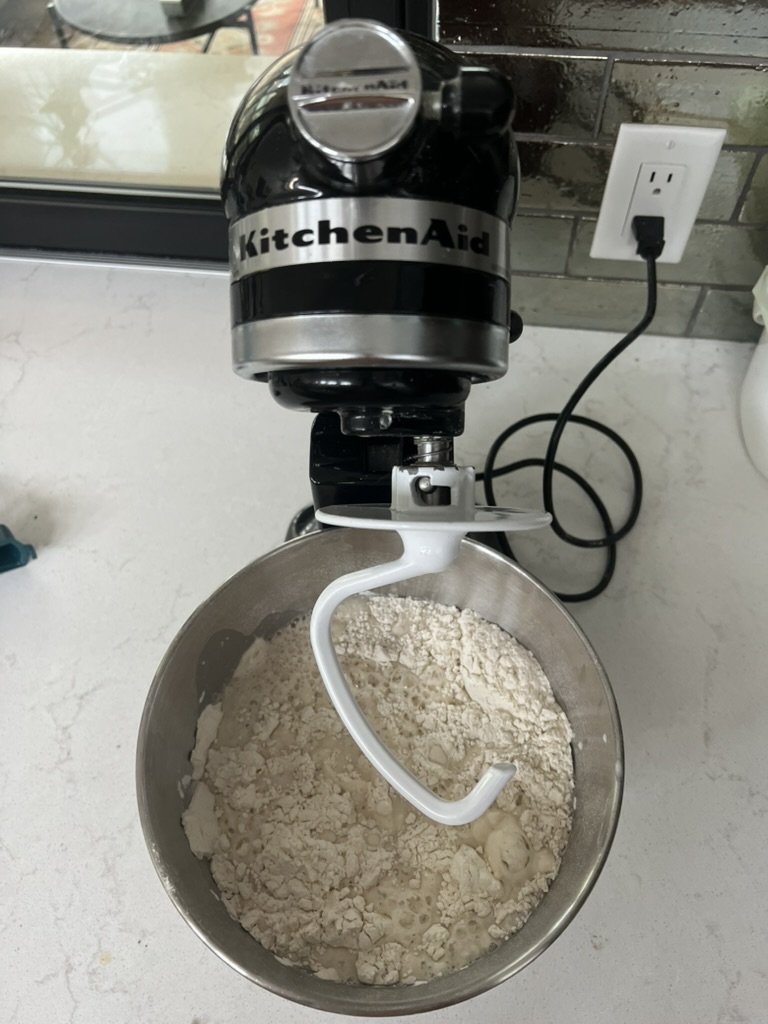
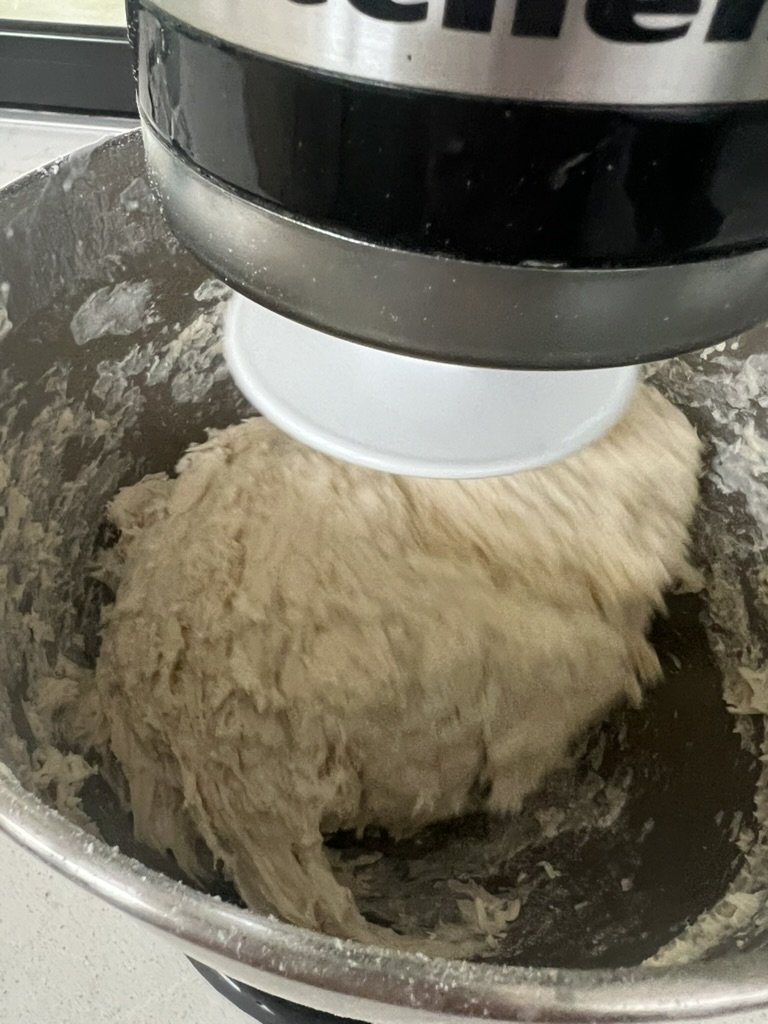
6. Add the flour Tip in the 700g flour and stir with a spatula until there are no dry patches and you have a very shaggy dough.
7. Rest the dough (30 minutes to 4 hours) Cover the bowl with cling film or a clean tea towel and leave it for at least 30 minutes and up to 4 hours. In this time the flour soaks up the water and starts breaking down, which makes the dough easier to work.
8. Work in the salt Pour the salty water over the dough and squeeze and pinch it through until it's absorbed. The dough will feel very wet and slack.
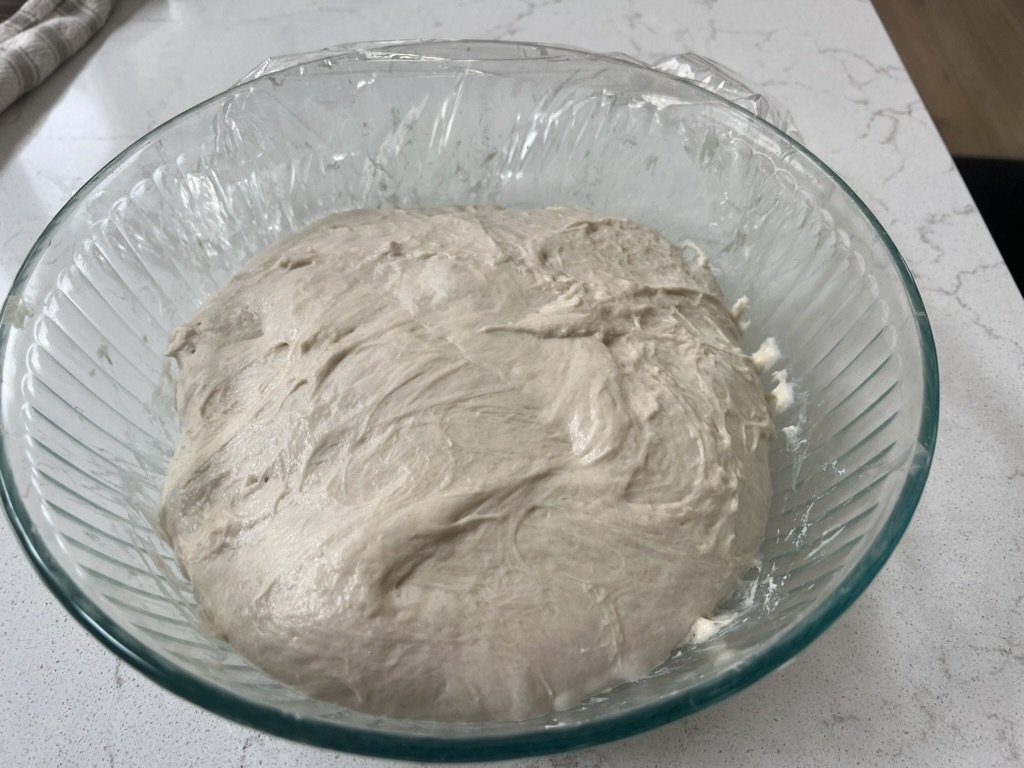
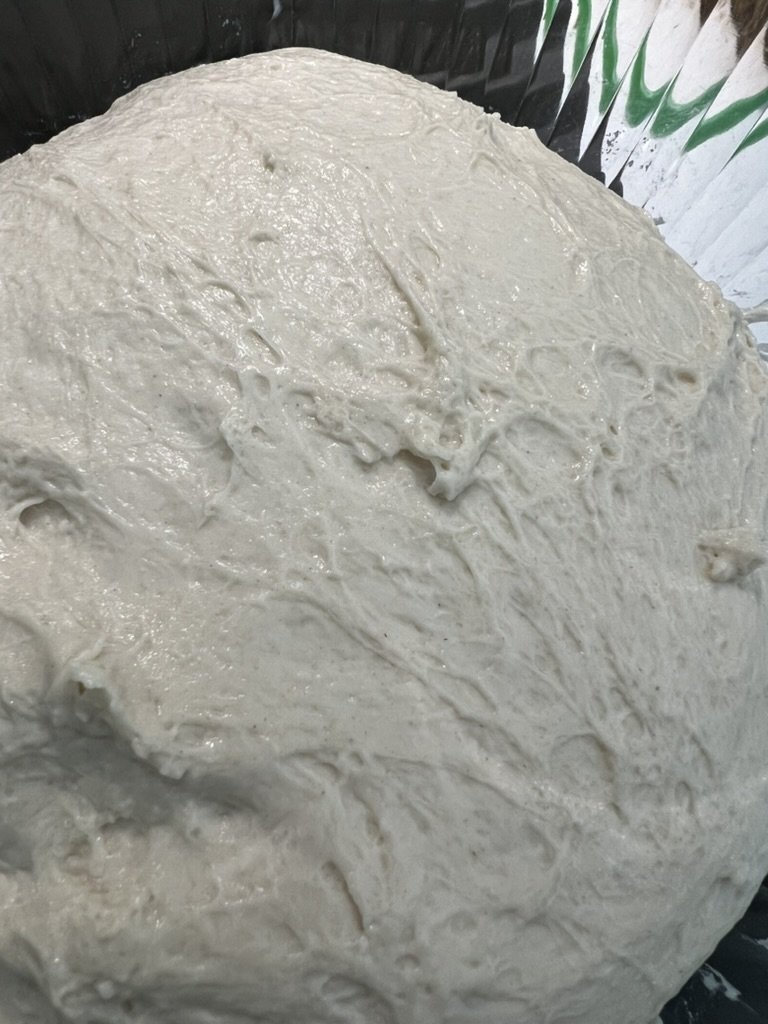
9. Fold the dough (2½ hours) Lift one side of the dough, stretch it up and fold it over onto itself. Turn the bowl a quarter and repeat, so you fold it four times in all. Rest 30 minutes, then do another round. Do six rounds, one every half hour, over 2½ hours. It starts loose and shaggy and gets smoother and tighter each time.
10. Let it rise undisturbed (30–60 minutes) After the last round, cover and leave it alone for 30–60 minutes until it looks slightly puffed. It won't double like a yeasted dough, just look a little bigger.
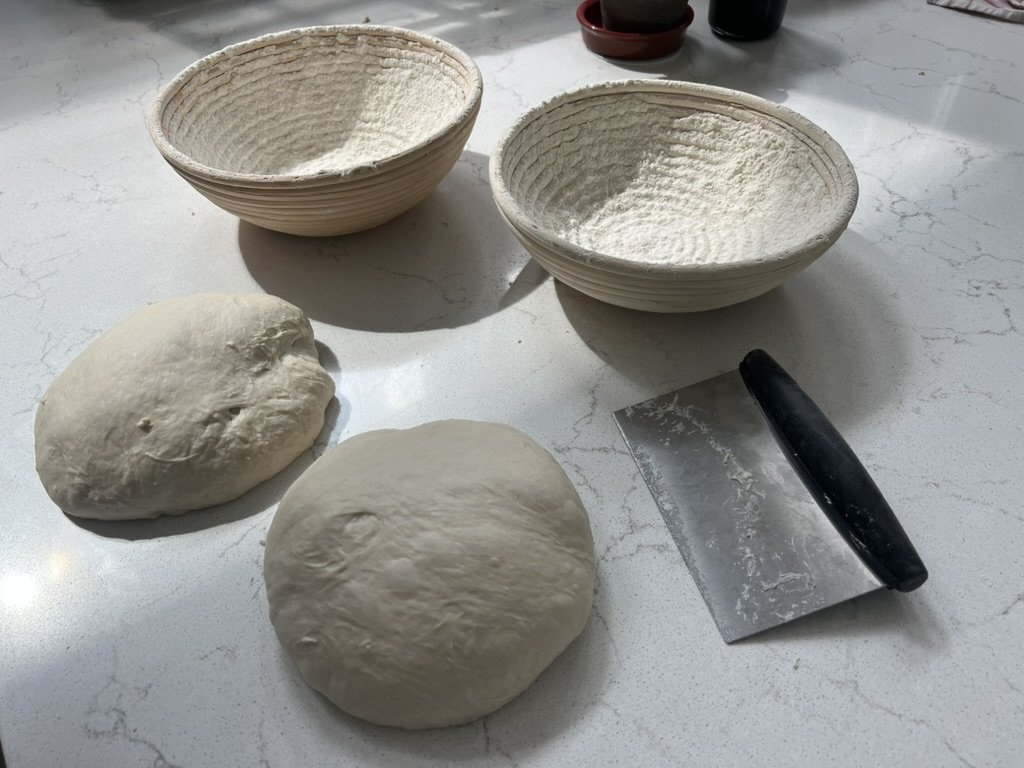
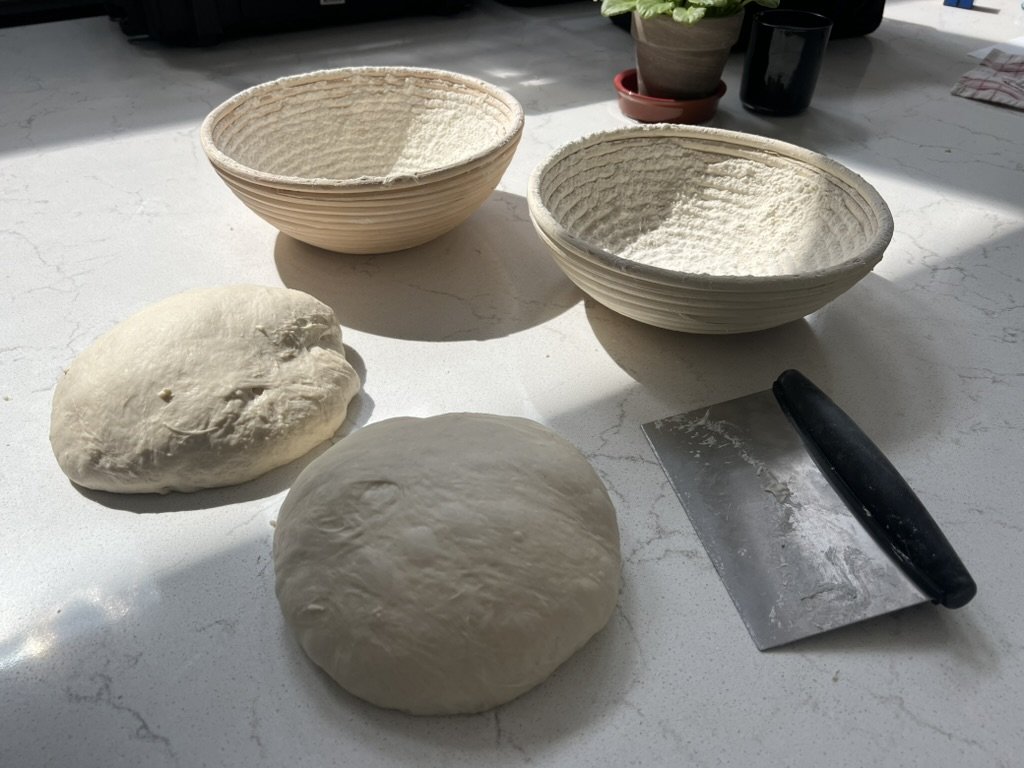
11. Divide the dough Lightly flour the worktop and gently turn the dough out, trying not to knock the air out. Cut it in half with a pastry scraper.
12. Pre-shape into loose rounds Dust each piece with a little flour. Slide the scraper under the edge of the dough and sweep it around the curve, turning the dough as you go, a few times over, to tighten the surface into a loose round. This is only a rough first shape. Flour the scraper if it sticks.
13. Rest the rounds (20–30 minutes) Leave both rounds for 20–30 minutes so the gluten relaxes before the final shape.
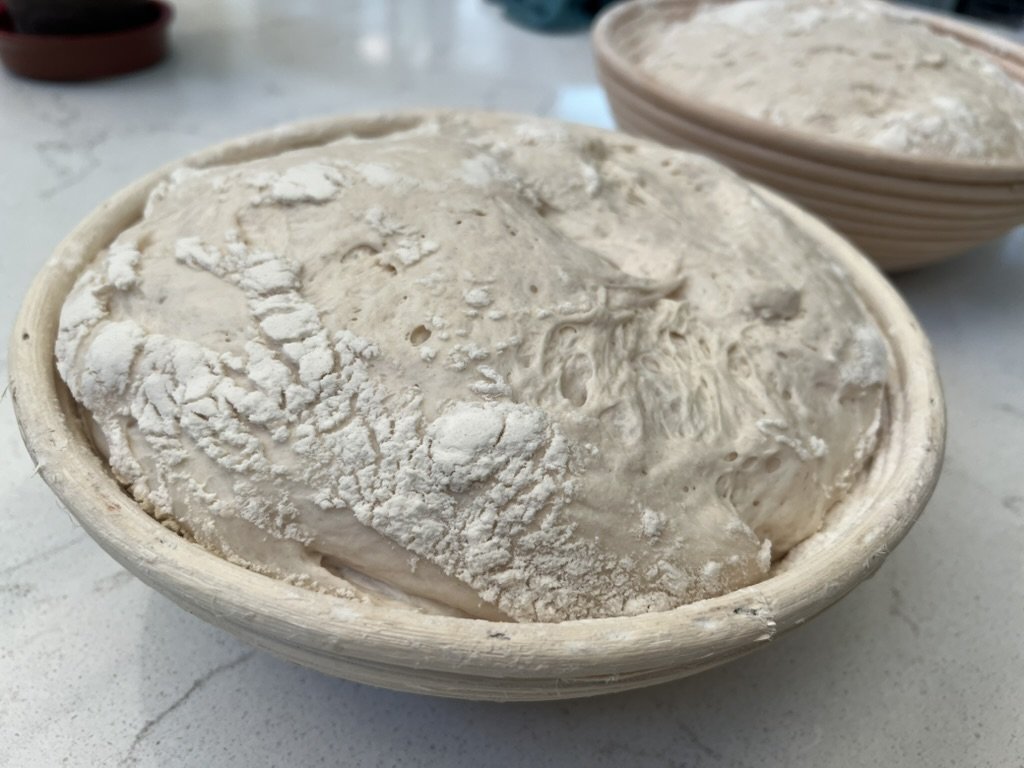
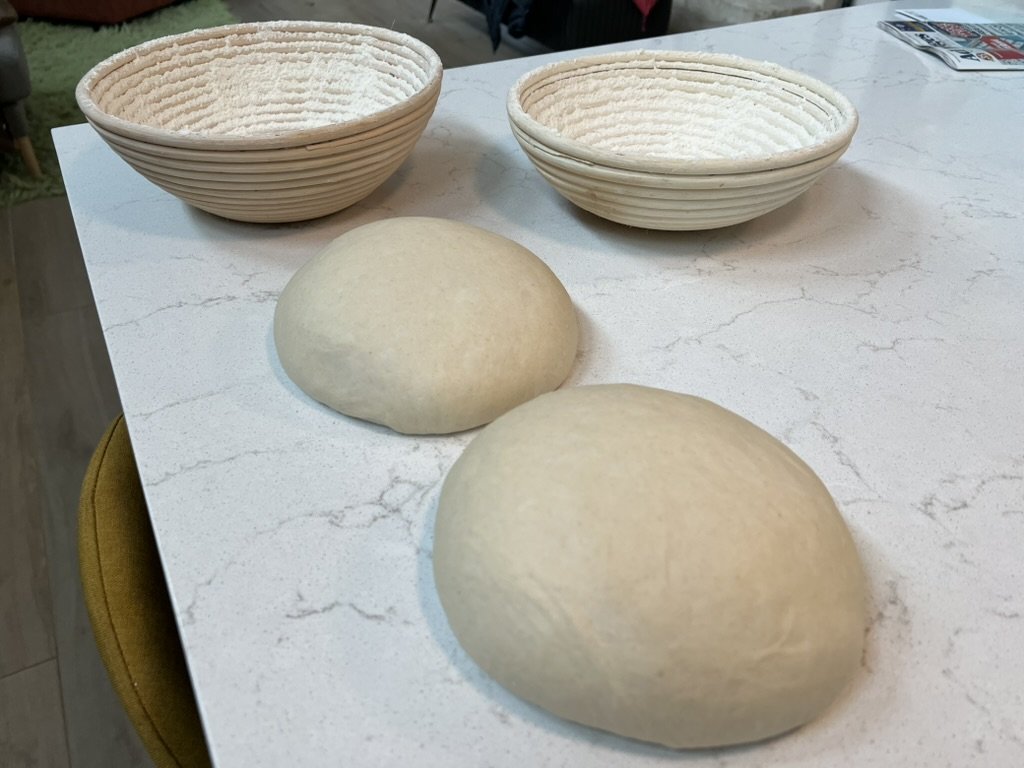
14. Prepare two baskets Line two proving baskets, colanders or bowls with clean tea towels and dust them heavily with flour, rubbing it into the cloth on the base and sides. Be generous: you want a thin, even layer of flour all over.
15. Shape the loaves Flour the top of one round, then flip it with the scraper so the floured side is down and the sticky side faces up. Fold the bottom edge up into the middle, then fold in the right side and the left side. Fold the top down, then use your thumb to catch the bottom edge and roll the dough over so it's the right way up. If it's not round or taut enough, cup your hands around it and turn it against the worktop to tighten. Repeat with the second round.
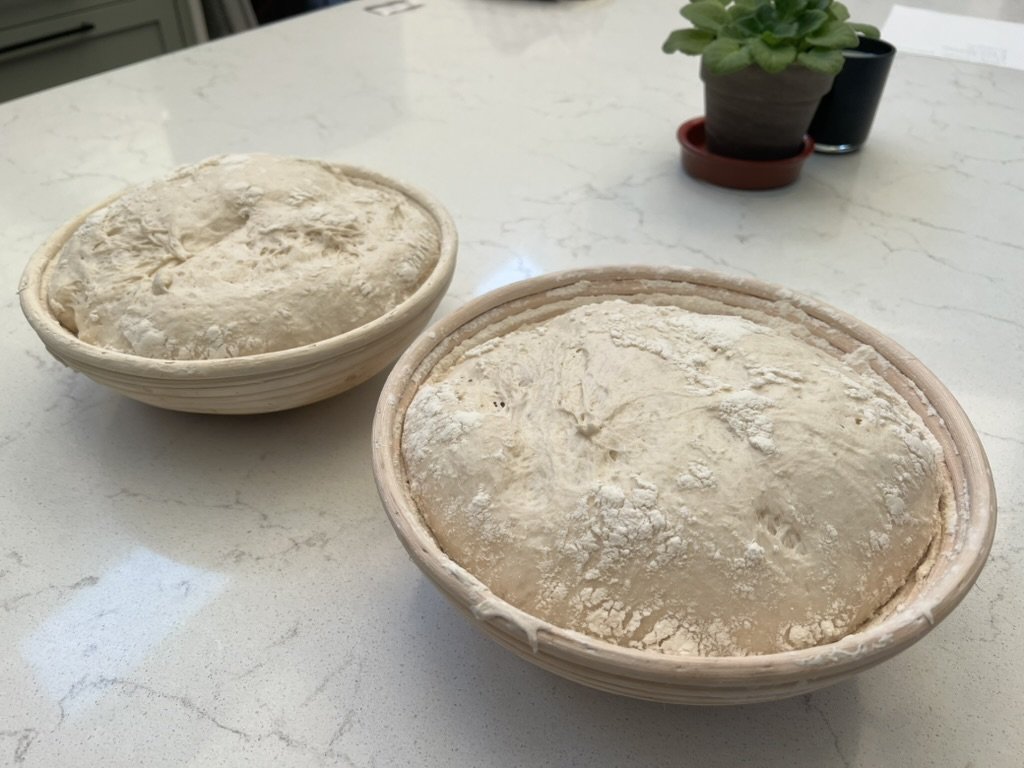
16. Put them in the baskets Dust the tops and sides of the loaves well with flour and place them upside down in the baskets, so the seams are facing up.
17. Final rise (3–4 hours, or overnight in the fridge) Cover loosely with cling film or slip each basket into a clean plastic bag. Either leave at room temperature for 3–4 hours until puffy and billowy, or refrigerate overnight for 12–15 hours. If they've been in the fridge, bake them straight from cold.
18. Heat the oven to 260°C (500°F) Put two Dutch ovens or heavy lidded pots in the oven while it heats. With only one pot, bake the loaves one after the other.
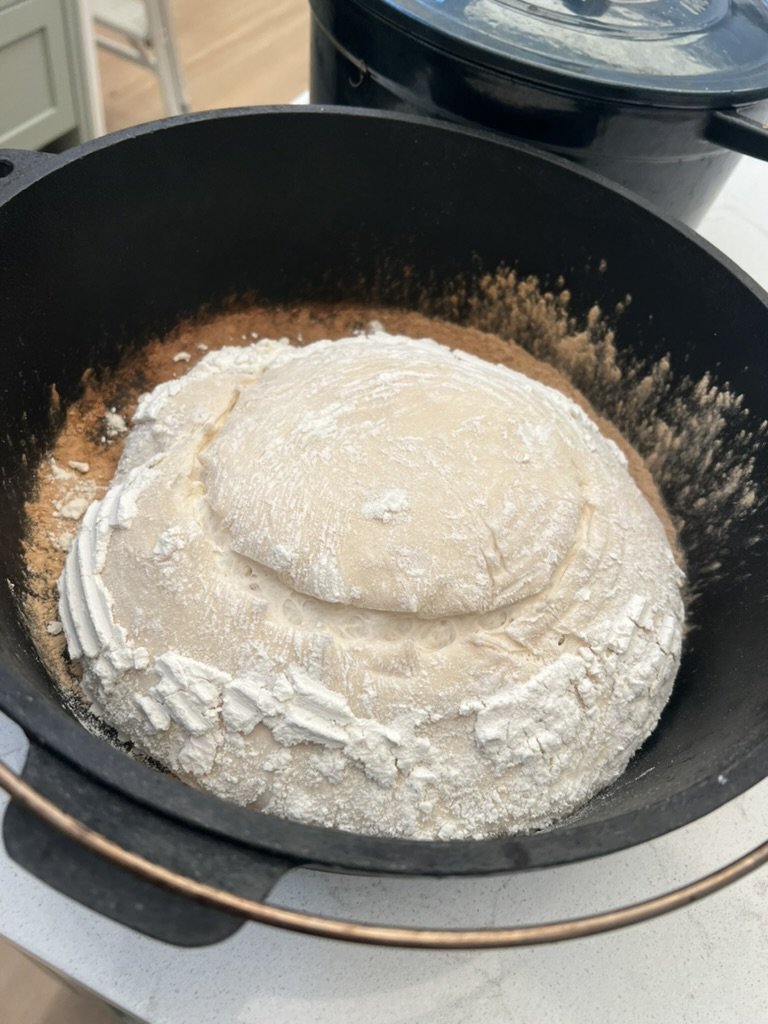
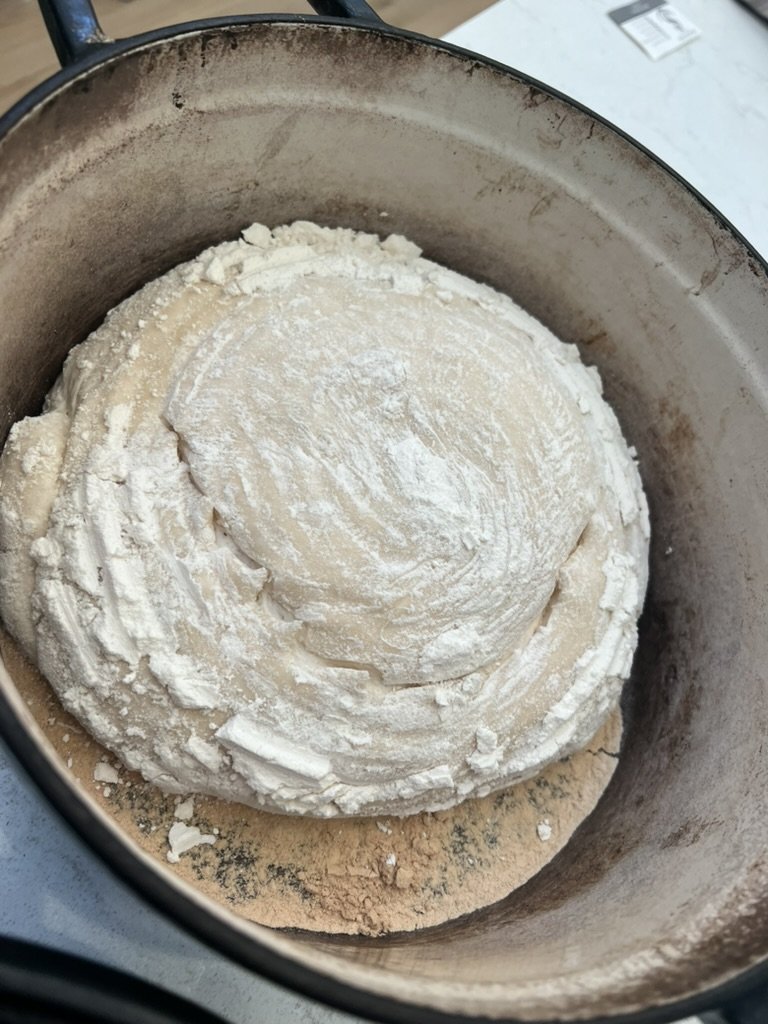
19. Load the loaves Carefully take one hot pot out and remove the lid. Tip a loaf in so the seam is underneath. Repeat with the second loaf.
20. Score the tops With a lame or a very sharp or serrated knife, slash the top of each loaf quickly, holding the blade at a shallow angle, almost flat to the surface. That's what gives you the raised ridge along the cut.
21. Bake covered for 20 minutes Put the lids on and bake for 20 minutes.
22. Turn down to 230°C (450°F) for 10 minutes Don't open the pots. Just lower the oven and bake for another 10 minutes.
23. Take off the lids Uncover the pots to let the last of the steam out. The loaves should have risen well, look dry on top and be just starting to colour.
24. Bake uncovered for 15–25 minutes more Keep baking until the crust is a deep, dark brown, just short of burnt. It feels like too far, but that's where the flavour and crunch come from.
25. Cool completely Lift the loaves out of the pots with a spatula onto wire racks. Wait until they're fully at room temperature before slicing.
Good to know
- Based on The Kitchn's method for sourdough bread
- You can do the mixing in a stand mixer on low with the dough hook
- The overnight fridge rise gives the best flavour and makes the timing easy
- No starter yet? Mix equal weights of flour and water and feed it daily. It takes about a week to get going
- Freeze the second loaf once it's completely cool
Cooking ability level
Photos